Infographics -Application example of a MIRUC product
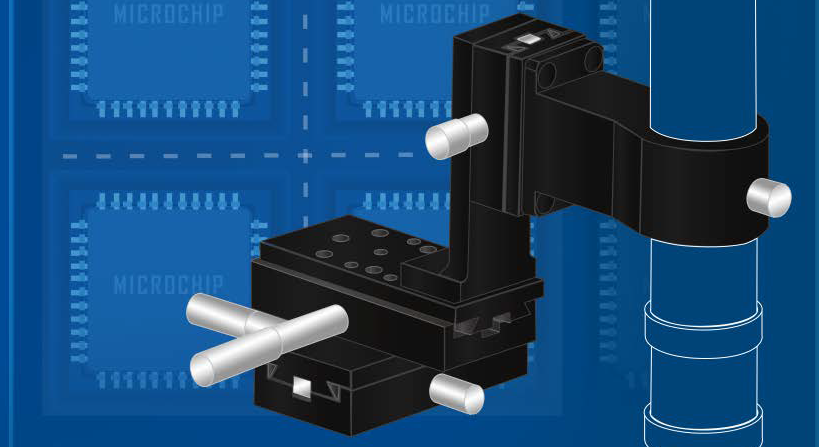
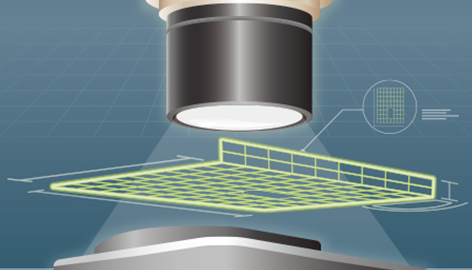
 Chip surface inspection device by rack & pinion type stage
 Using long stage to mark height variation
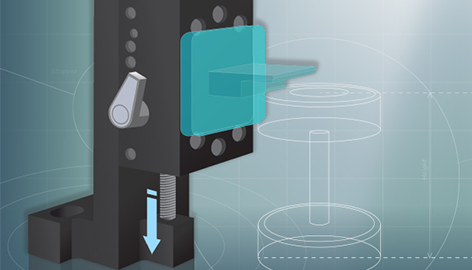
 Press fit height inspection jig by multifunction feeding screw type stage
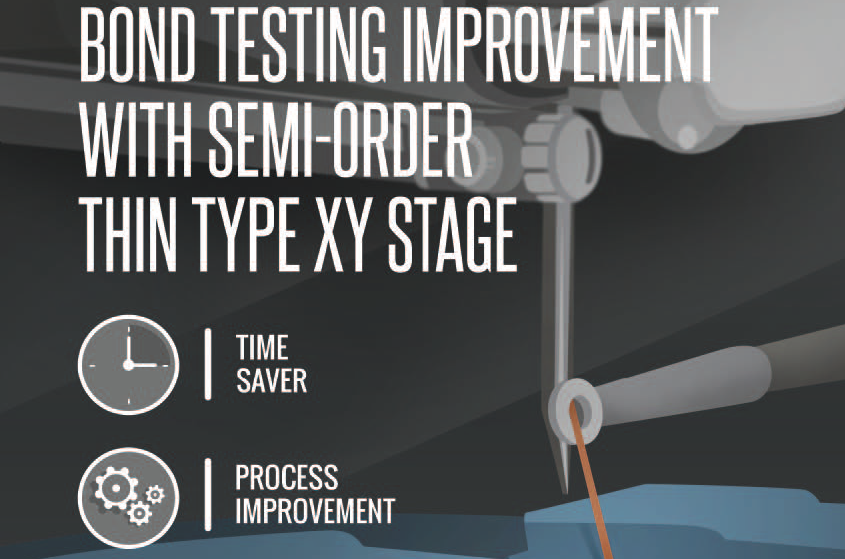
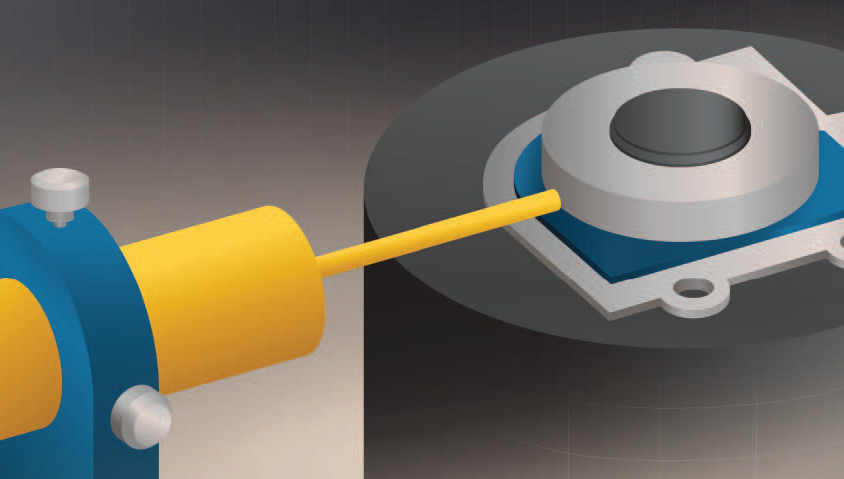
 Bond testing improvement with semi-order thin type XY stage
 Rotation accuracy measurement jig using two axis (XY) stage
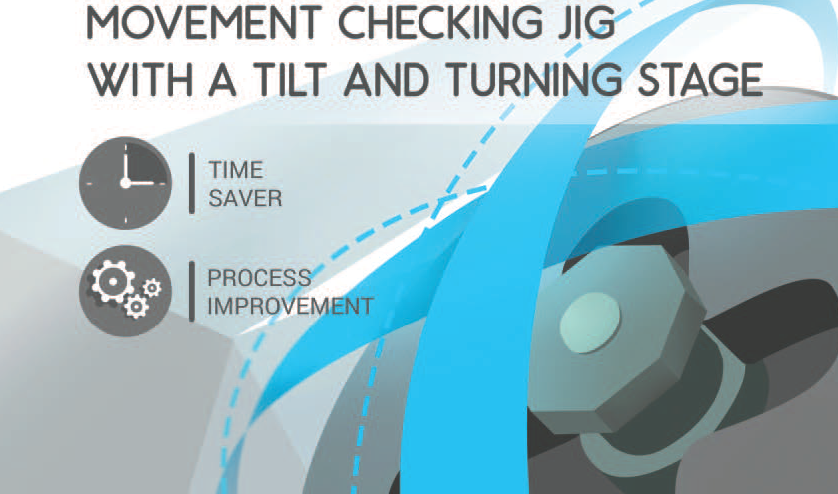
 Movement checking jig with a tilt and turning stage
 Prevent the overlapping of parts by using Z-axis stage
 UV bonding jig equipped with a Z-axis stage
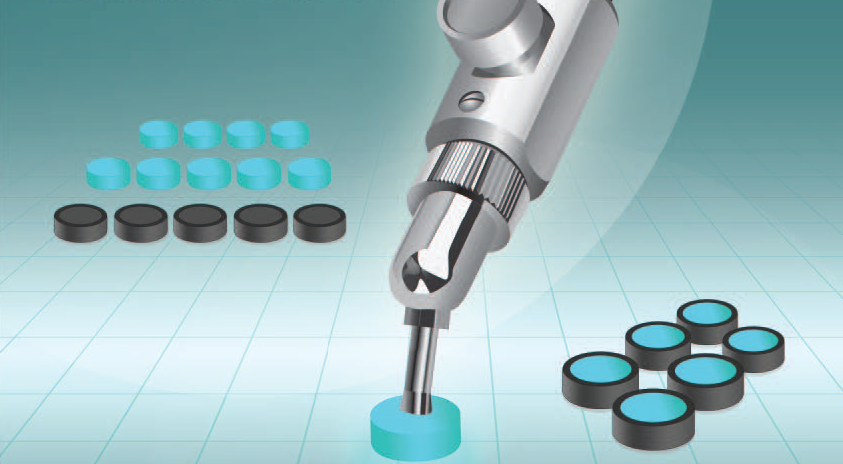
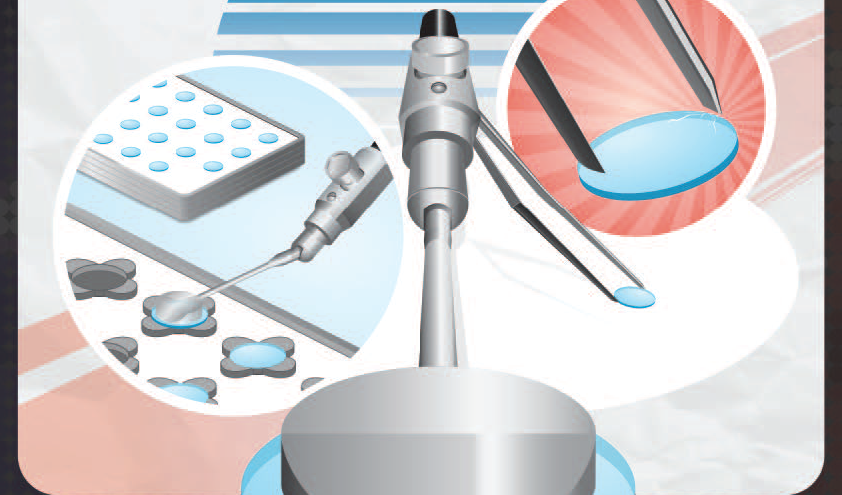
 Lens embedding operations
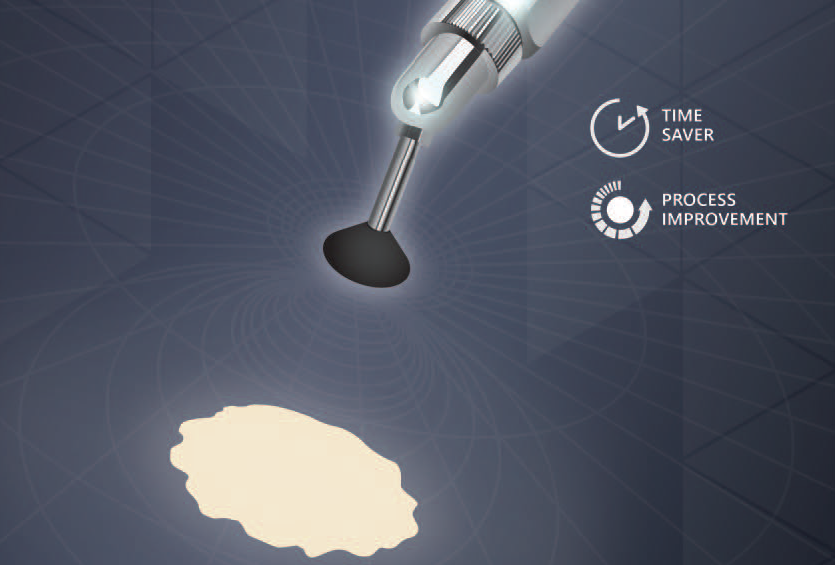
 Food shape sorting operation using air pits (vacuum tweezers)
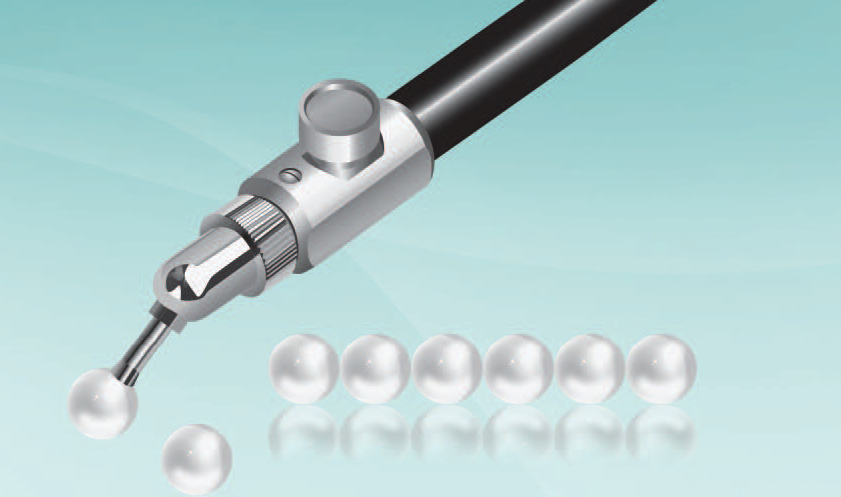
 Sequential assembly operation of pearls using air pits
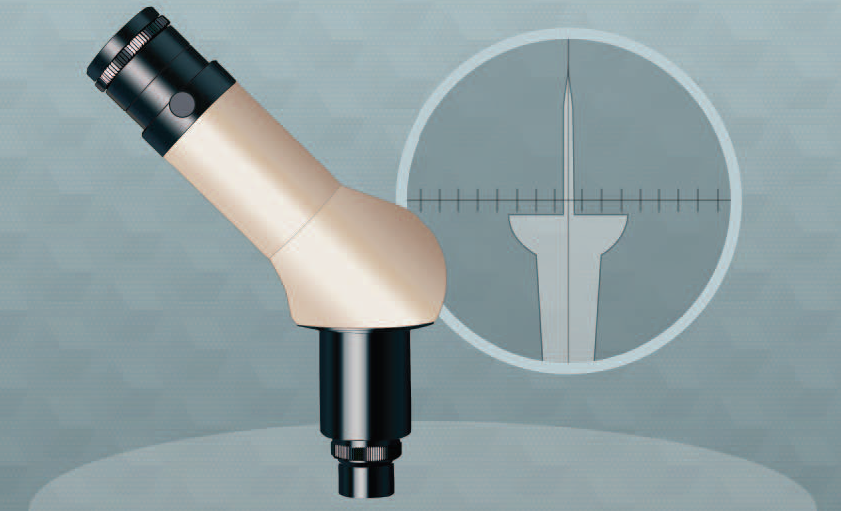
 Pin shape inspection of thumbtacks using an inspection microscope with built-in ocular micrometer
 Burr inspection operation of rubber products using an inspection microscope
 Metal fragment detection with an inspection microscope
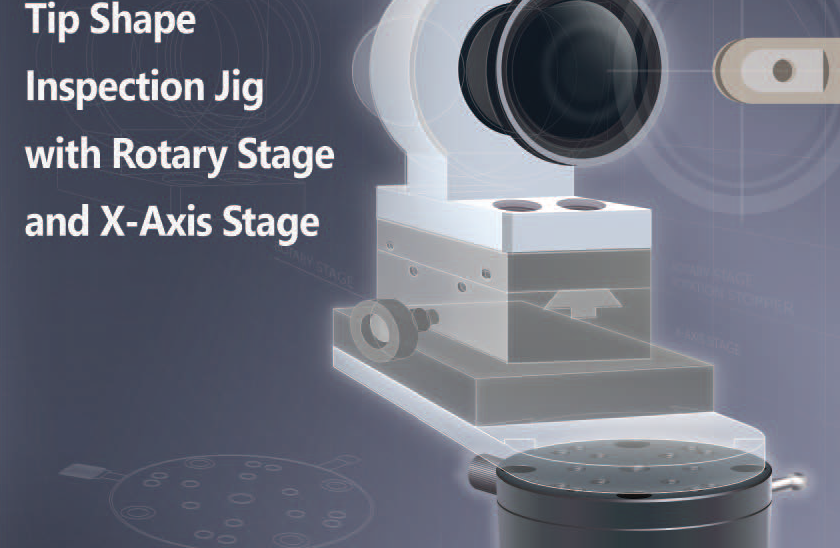
 Tip shape inspection jig with rotary stage and X-axis stage
 Aperture height inspection jig using multifunction feed screw type stage
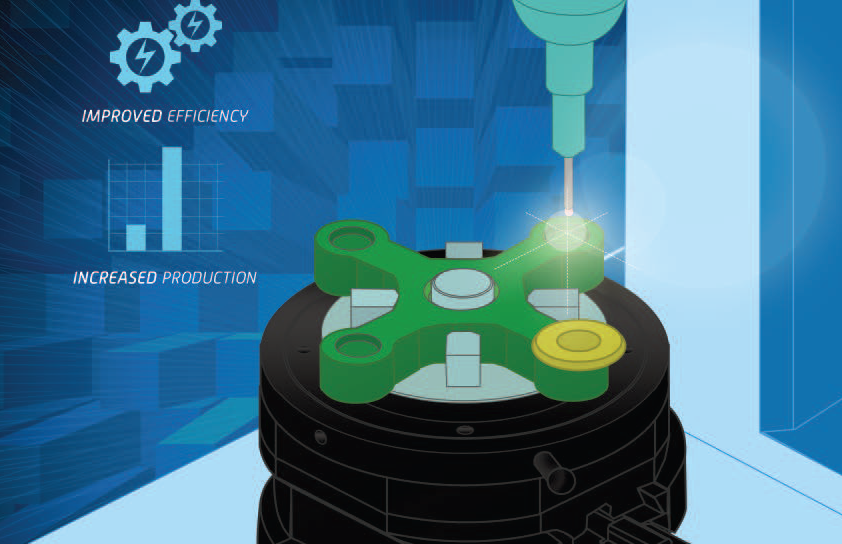
 Improvement of adhessive application jig using a XY/rotary (composite) stage
 The telecentric lens for measuring hole diameters
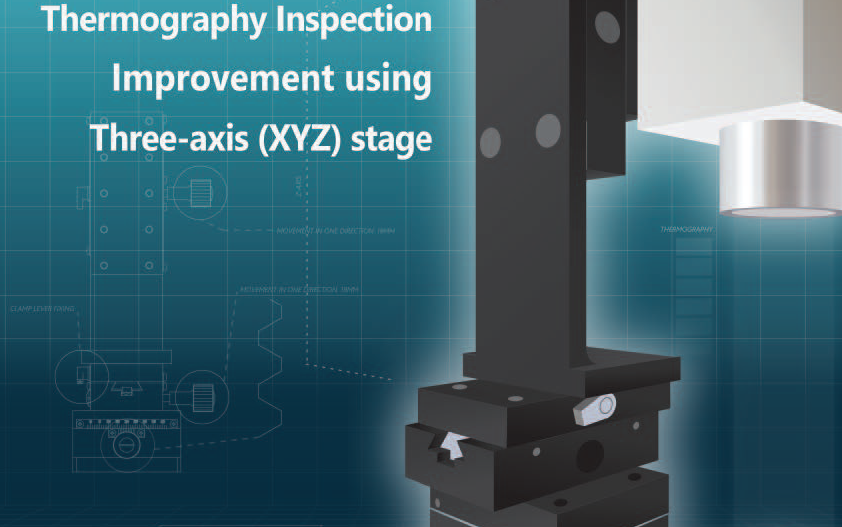
 Thermography inspection improvement using three-axis (XYZ) stage
 Air pit vacuum tweezers to improve mirror embedding
 Improvement of shaft packing using vacuum tweezers
 Crack inspection improvement of equipment with inspection microscope
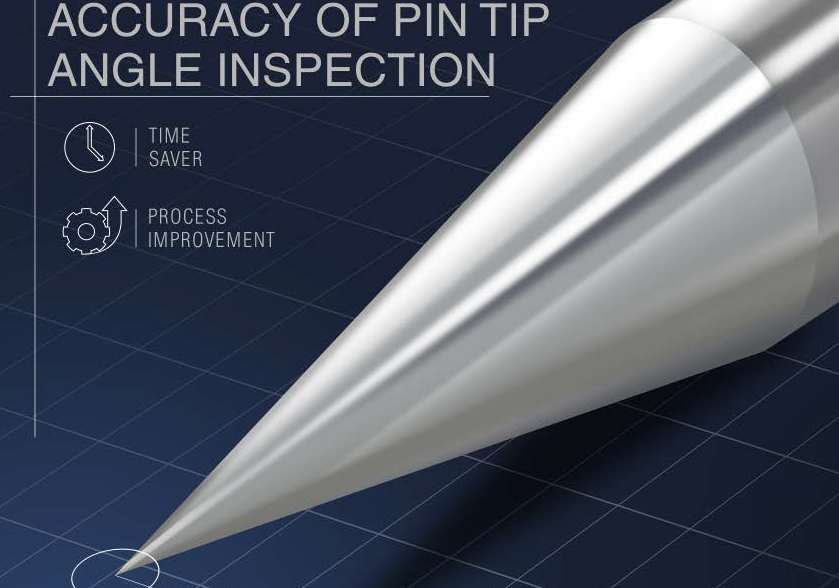
 Accuracy of pin tip angle inspection
 Label attaching position inspection by inspection microscope & ocular microscope
 Improve visual inspections using the thin-type XY rotary stage
 Rubber band inspection jig optimization
 Cell examination using the WiFi eyepiece camera
 Using the USB eyepiece camera for product inspection
 Semi-order stage for deep hole inspection
